| Scroll Ignore | ||||
|---|---|---|---|---|
|
https://www.youtube.com/watch?v=uGQf5b7BSW0&list=PLt5jhPpkokeL7jZrgoINs1synCP7F3iAy&index=5
Once you have exported your data from APDL as described here, you're ready to import that data into Logbook Pro. If you haven't done so already, download the APDL import template by going to APDL.net and download from the link there. This template maps the APDL data to the appropriate columns in Logbook Pro for you. Save this file in a convenient location so you can use it each time you import data into Logbook Pro.
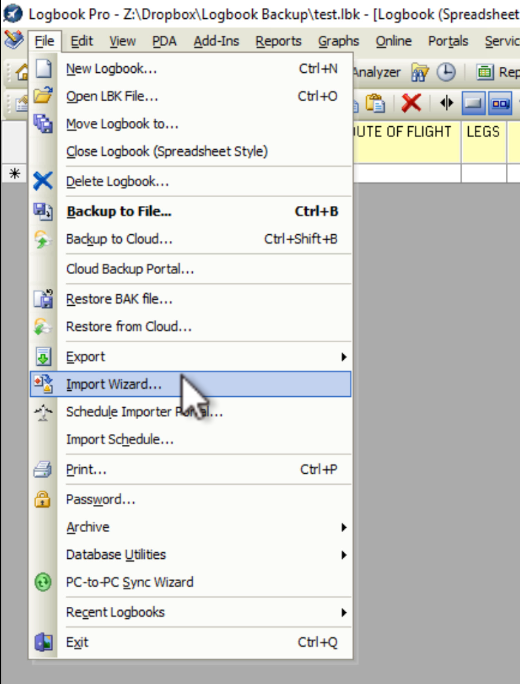
Open Logbook Pro on your desktop and click File/Import File > Import Wizard.
The Import Wizard dialog box will show up next. You'll need to select the appropriate file to import using the Browse button, select TAB delimited or CSV as appropriate, make sure you choose that your import times are in Minutes, enable Autofill on your imported entries, and choose the overwrite and backup options to fit your needs.
...
Click Next again and you'll see the import configuration screen. This is where you need to indicate to Logbook Pro which columns of data that you're importing correspond to the the appropriate columns in Logbook Pro so all the data goes to the right place. You could do this manually if you choose, however, the APDL import template we downloaded above makes this step a breeze. To load the template, click the Load Template button at the bottom and choose the template file you downloaded from APDL.net.
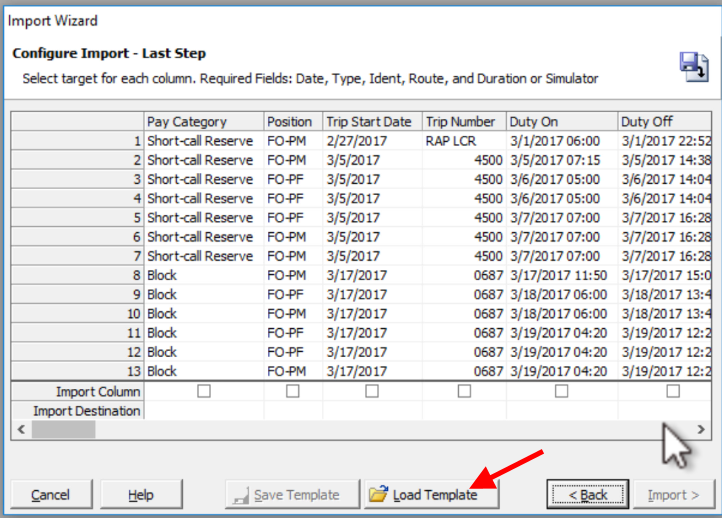
That will preselect the appropriate columns to be imported into Logbook Pro for you as seen below.
...