...
Logging flights is simple and fast and with the use of various settings in Settings / Flight Log you can log a flight in only a few seconds. All of the features to speed up flight logging in Logbook Pro Desktop such as double-click to auto-enter (single tap on your device) and autofill are available to you in Logbook Pro Mobile. Also enhanced features such as new flight auto-populate (recent recall), intervals for OOOI entries, and GPS to automatically fill in your nearest airport make logging a flight a breeze.
General Info
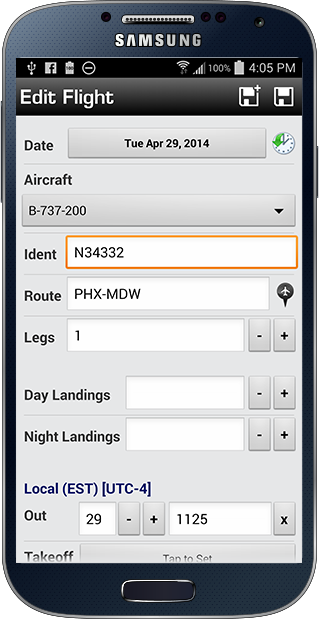
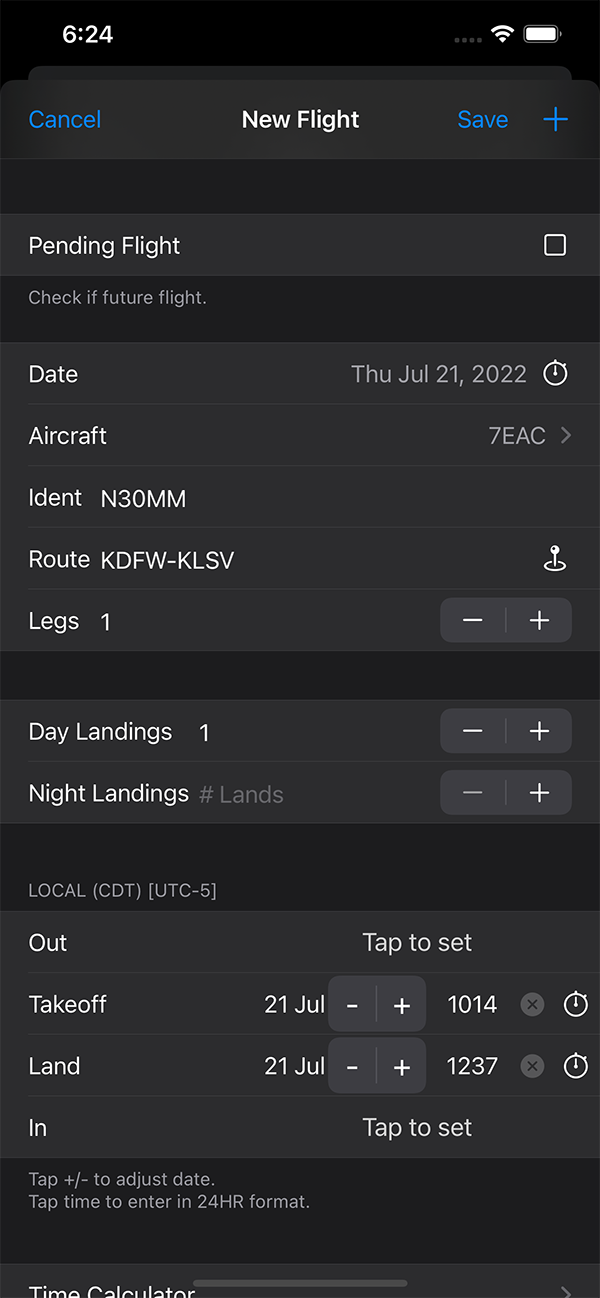
As shown above enter the basics for your flight including the flight date Aircraft Type, tail/fin #, route, and legs. There are all required inputs unless error checking is turned off in Settings / Flight Log. The aircraft list can be filtered to only show Active types (types you actively fly). Tap the type and a pick list will appear. The Ident is free form and you can enter it as you wish but try to keep it standardized to keep your flight logging consistent. The Route of Flight is fluid allowing you to enter either FROM-TO or put your entire route of flight in, i.e. KDFW-KSEA-KLAX. You can tap the black "find nearest airport" button if on the airport and you don't know the airport code and it will be entered for you. If you tap the spacebar twice a hyphen "-" will be entered for you so you don't need to switch keyboards depending on your device. The number of LEGS is the number of flights. The default is 1 but if you log multiple legs as demonstrated above in KDFW-KSEA-KLAX then you can enter 2 for this route as it contains two flights (legs).
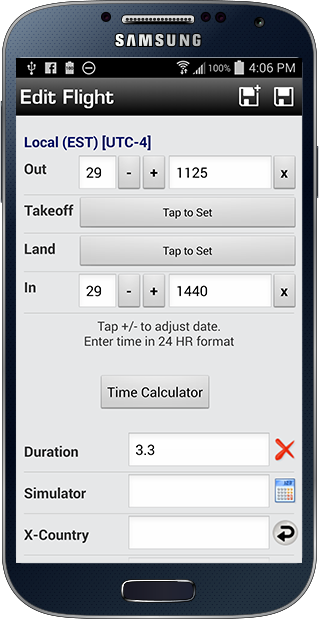
OOOI (Out, Takeoff "Off", Landing "On", In)
If you have the OOOI fields turned on in the flight log layout you can enter the data as desired. Also depending on how the "Use Intervals" is configured will control how the fields are initialized such as with values, blank, etc. The date will default to the Flight Date then tap into the Time portion to enter as desired. If you have Out/In or Takeoff/Landing entered you can then tap the calculator button to the right of the Duration field and the flight time will be automatically calculated for you. Depending on the time zone setting set which is indicated in the header above the OOOI fields this is the time zone that you should enter your data. If "Device Local" then make the inputs in the time zone where you are located now. The device will store all dates/times internally in UTC so that they can be translated to any other time zone at any other time should you change settings, etc.
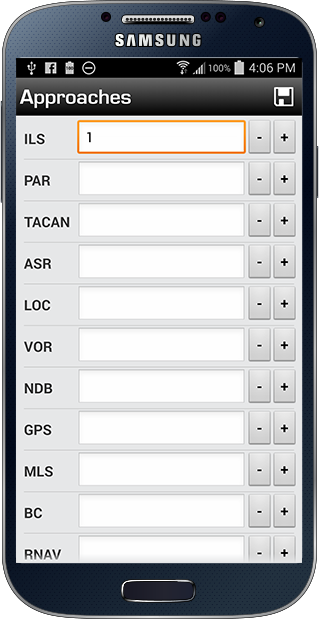
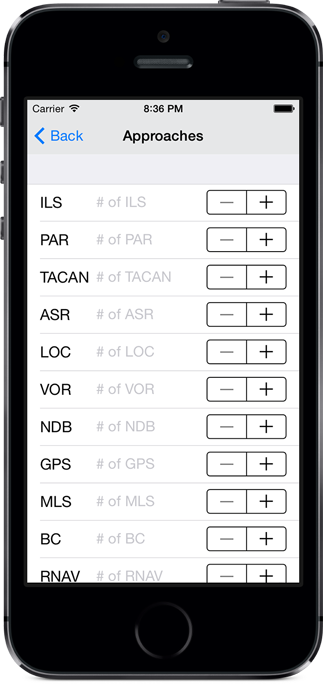
Approaches
On the flight screen tap Approaches to go to the screen above where you can specify the number of approaches to log by each type including holding. You can manually input the values or use the - / + button to change the values.
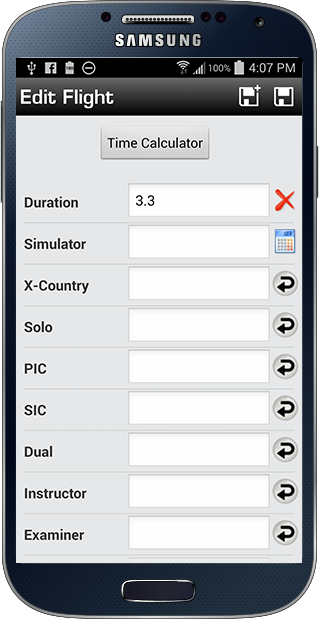
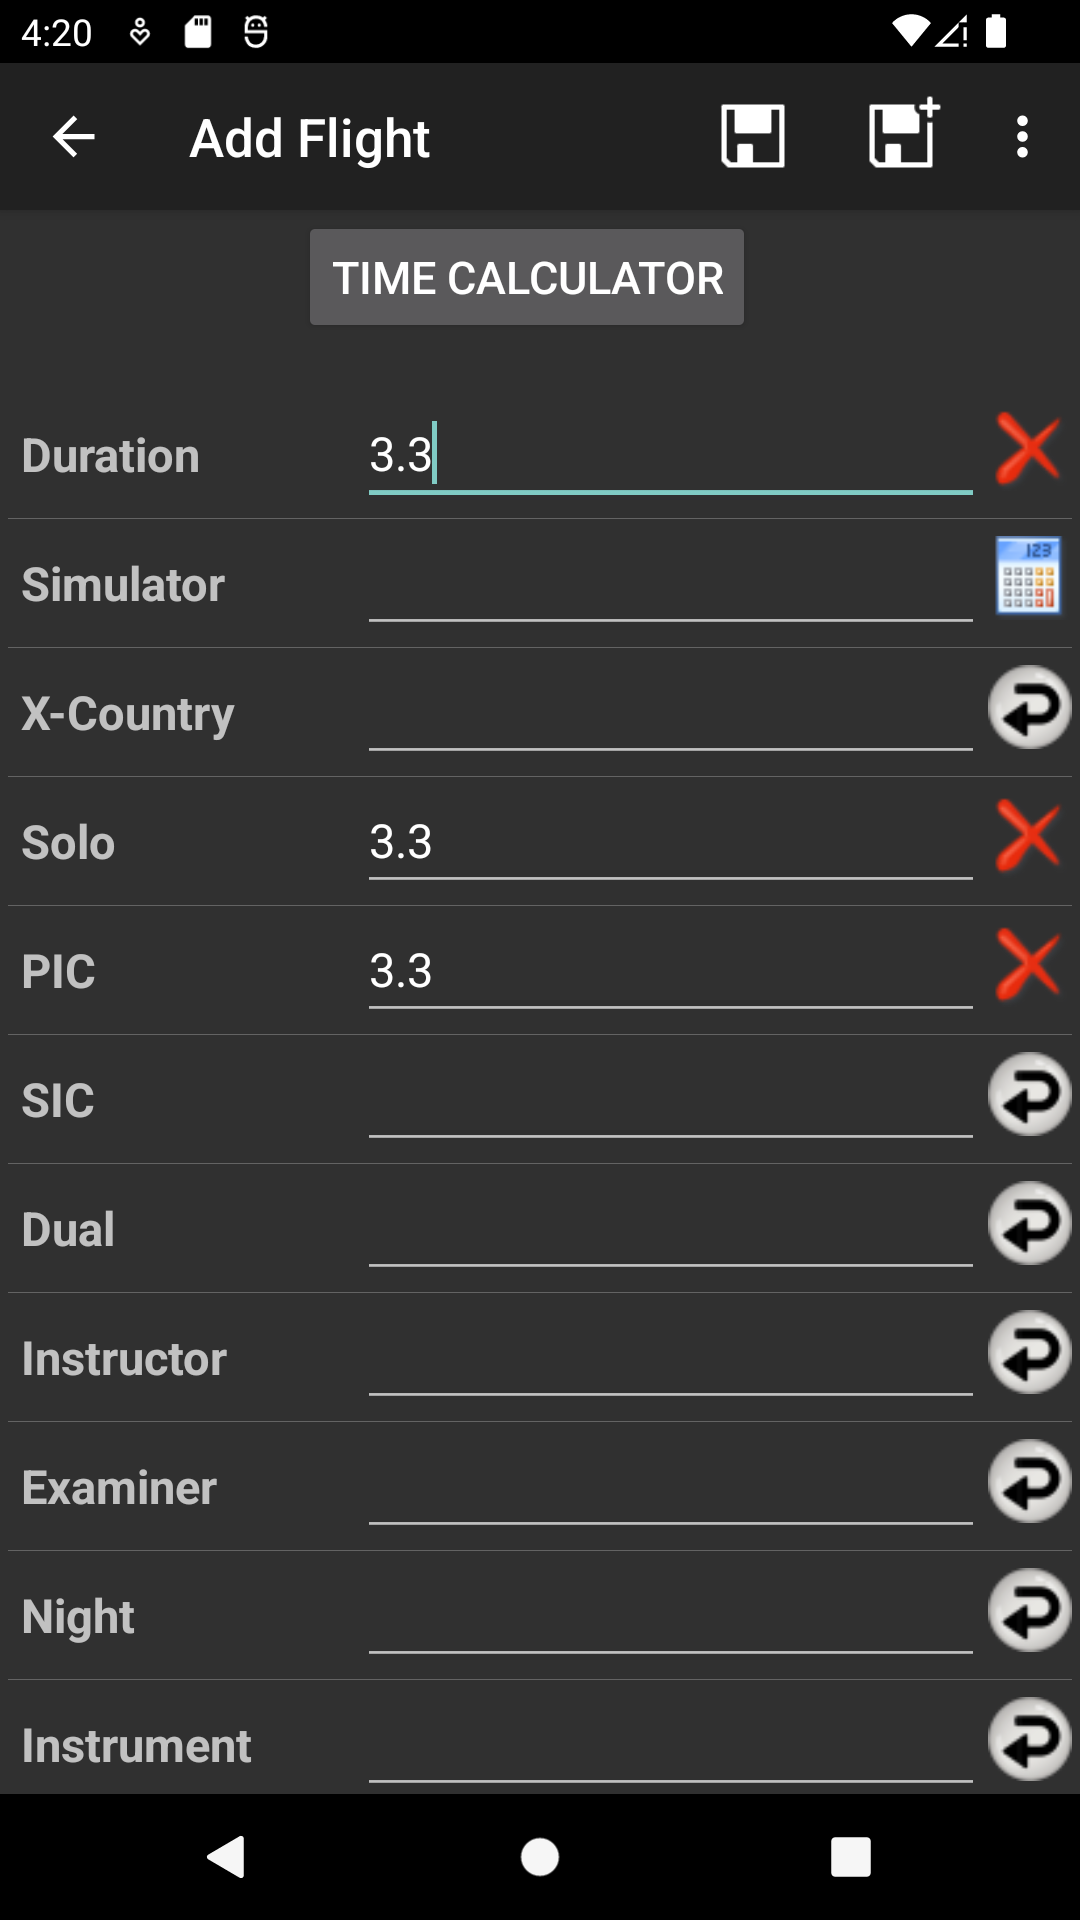
Flight Time Inputs
...
Synchronized: Normally this is left alone, however, you can manually check this (tap to check) and Logbook Pro will skip synchronizing this entry as it will be marked as already synced.

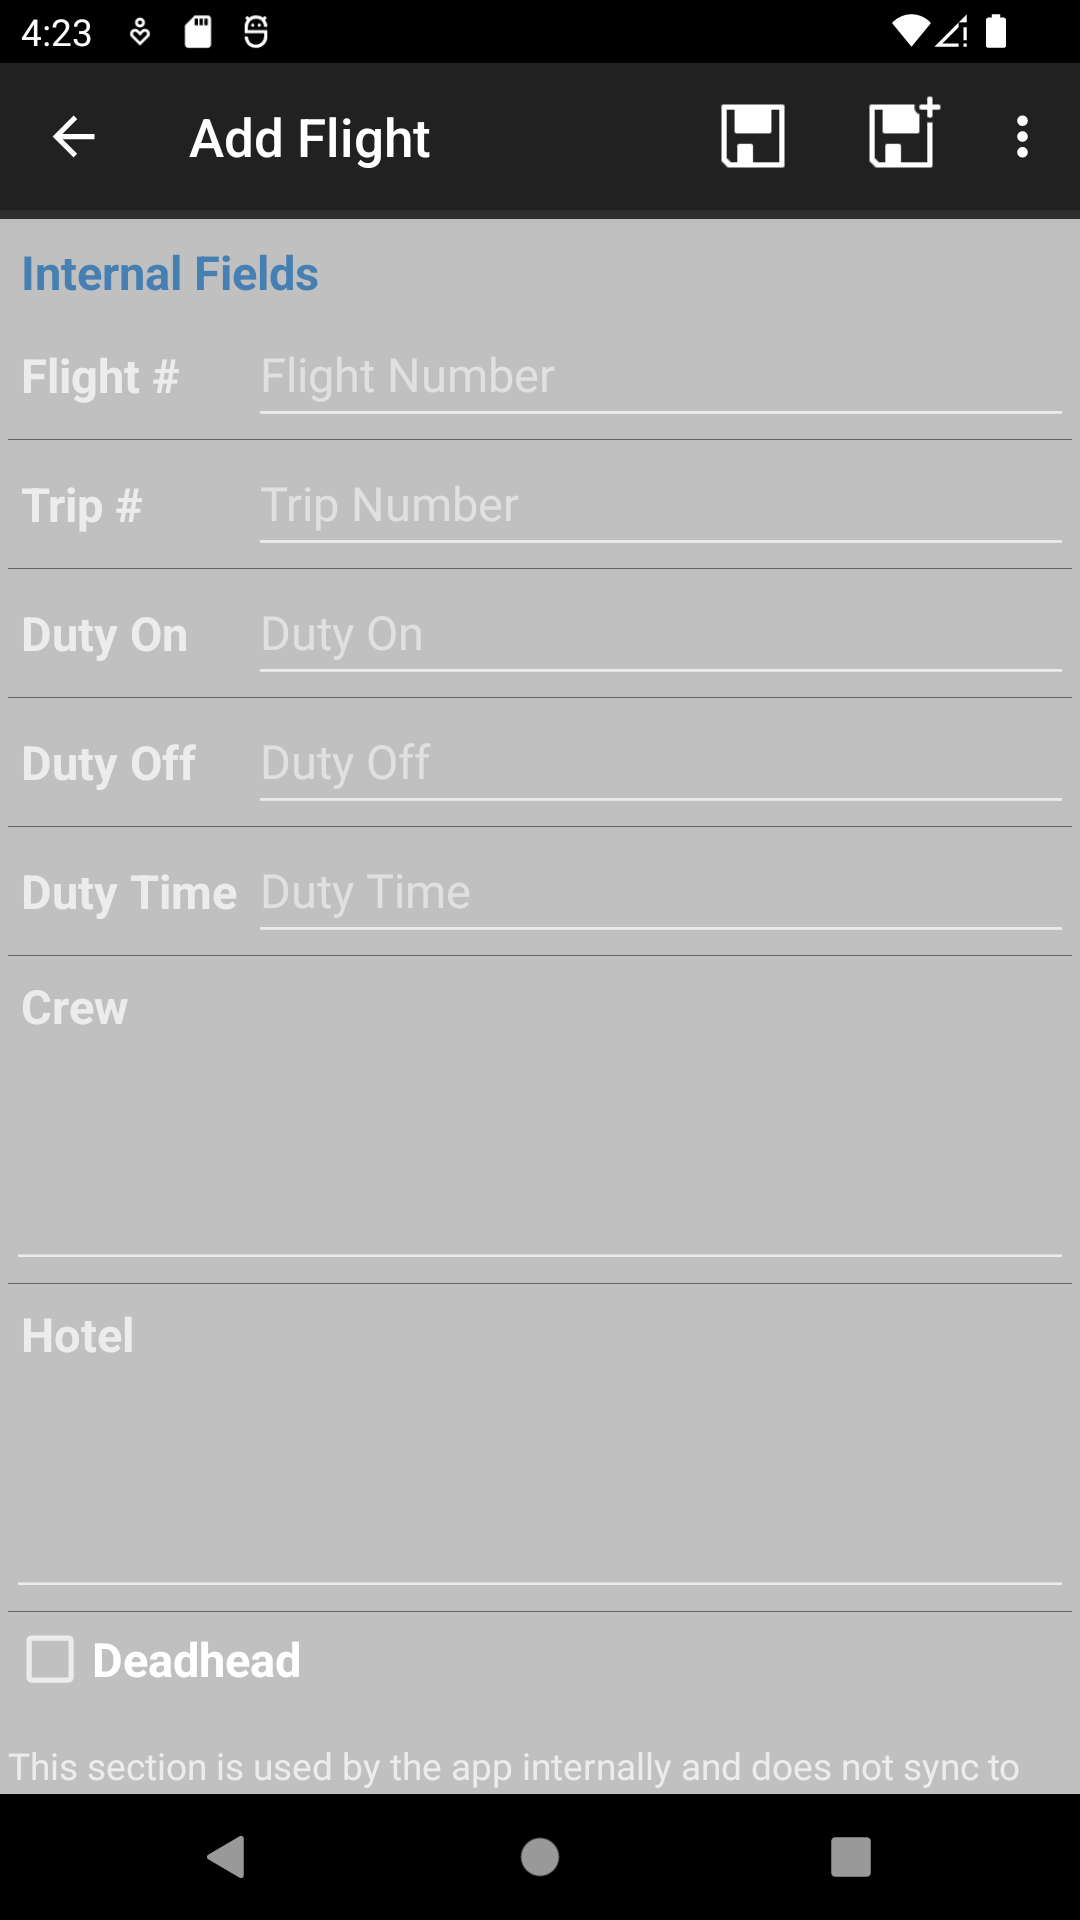
Internal Fields
...