...
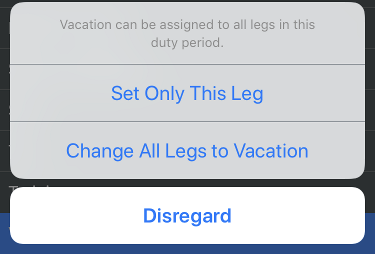
- Select the appropriate Payroll category if necessary. For example, if this was a deadhead leg, select deadhead as the payroll category. When changing to certain payroll categories, you are able to set all entries in a duty period. You will see a pop up prompting you about this when it is available.
- Tap the Aircraft field to choose the aircraft tail number from the APDL database. Tap the "+" icon at the top right to add a new tail number aircraft if necessary.
- Enter OOOI times. Tap the "Out" row to open the time editor. Tap any other row to close the time editor and enter another time. Tapping the active row will also close the time editor. If enabled, AutoFill will automatically enter OOOI times after a preset delay from the scheduled In time. This allows you to enter times manually prior to them being AutoFilled, yet keeps your flights up to date if you fall behind or forget to update the entries. AutoFill can be manually triggered prior to the time delay by tapping the "AutoFill Now" button. This may result in incomplete data as it does take some time for the cloud resources to be updated with actual OOOI times.
- Select the appropriate Regulation if necessary.
- Choose the appropriate position.
- Enter night if desired. APDL is capable of auto calculating night time if enabled in settings.
- Enter instrument if desired. APDL displays the duration of flight time for quick entry if the entire flight was in instrument conditions.
- Enter the type of approach flown, if appropriate.
- Enter Crewmembers if desired. Default crewmembers will be entered automatically. If Auto Forward is enabled, crewmembers will automatically be forwarded to the next flight. This can be manually edited if crewmembers change between flights.
- Enter any notes if desired.
...