


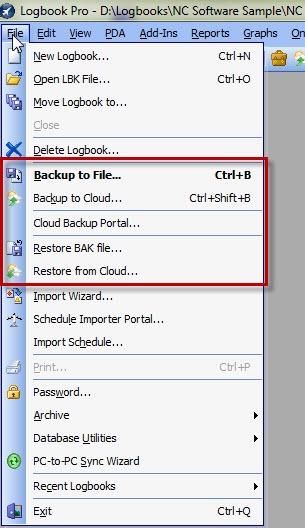
Figure 1. Menu and Toolbar options to launch Backup to Cloud feature
A new feature starting with Logbook Pro PC edition 1.11.7 is the ability to backup your Logbook Pro data and automatically send it to the Cloud Backup service (subscription required). Click File..Backup to Cloud (as shown above) and Logbook Pro will first create a backup on your hard drive and then launch the cloud backup client to send the backup to your cloud storage.
After purchasing a subscription login to the backup portal at http://logbookpro.com/backup and you'll find your Account ID and Username. If you're using the cloud sync service or airline schedule importer integration the information is the same as you already have. The Account ID and Username need to be entered in the bottom section of the User Information Options area. Your computer requires Microsoft .NET Framework version 4 to use this system. If your computer does not have .NET 4 you will be prompted to download and install it from Microsoft. To install .NET 4 now click here.
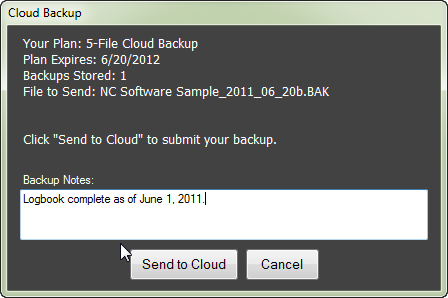
Figure 2. Cloud Backup client
After Logbook Pro creates a backup on your hard drive the client will automatically be launched as shown in Figure 2 above. An Internet connection is required. Logbook Pro will communicate with the cloud to retrieve your subscription information. You will then be able to type notes related to the backup if you want and then click "Send to Cloud" to upload the .BAK to your cloud backup account.
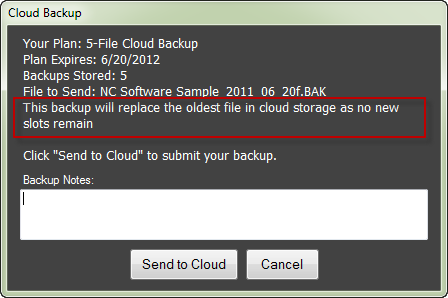
Figure 3. Backup replace option
If you have used all of the available backup slots per your subscription limit, the cloud backup system will automatically replace the oldest backup with your new backup. There is no need to manually remove backups to make room for new submissions. Simply click Send to Cloud and the system will add your new backup to your cloud backup account.