


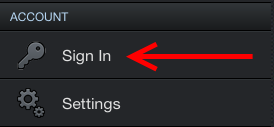
Let's get APDL started with your own data. Open the menu and tap the "Sign In" button.
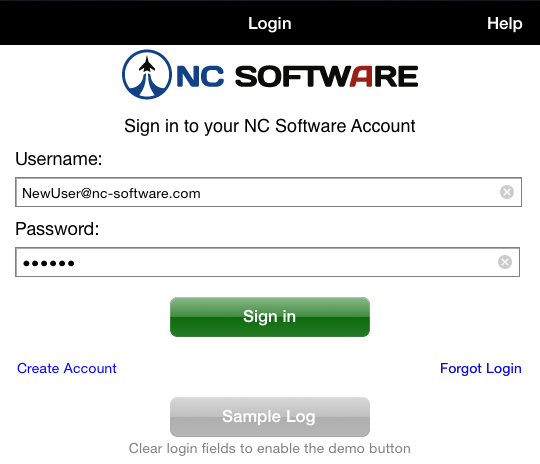
If you already have an account with NC Software, you can use the same account to login to APDL. Tap the forgot login link if you need login information. If you need an account, tap the create account button. Login with your account information.
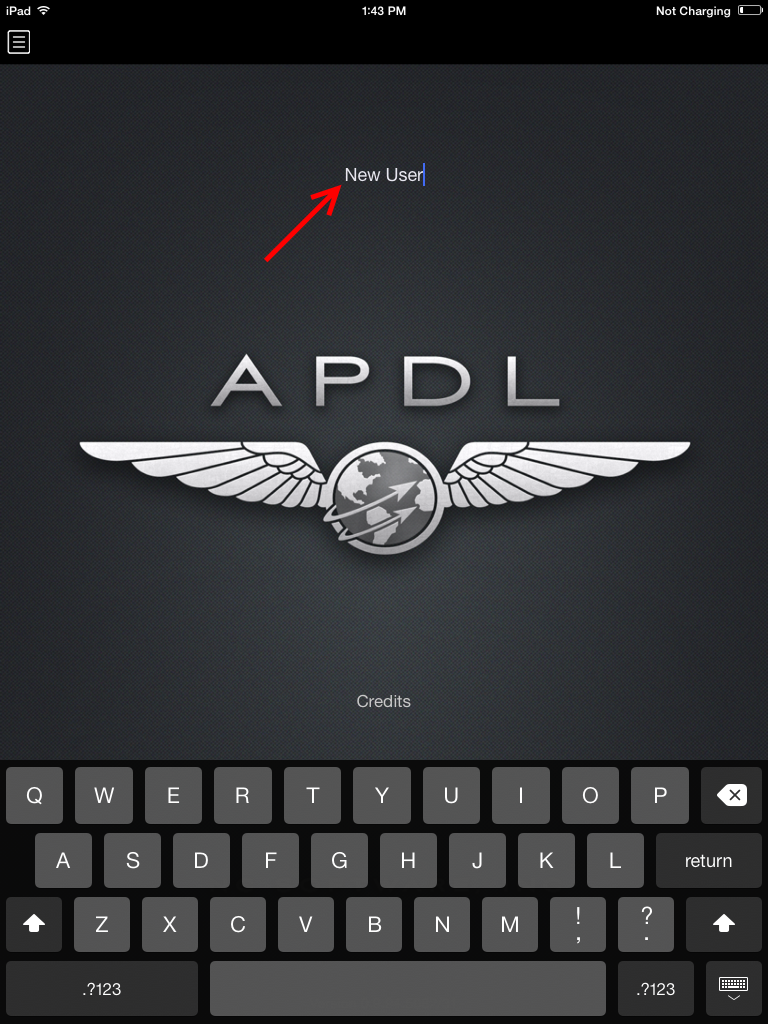
To get started, you can change the name displayed on the splash screen by tapping on it.
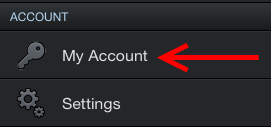
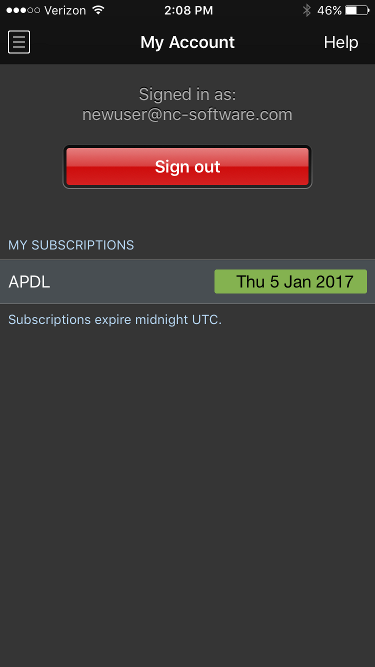
APDL includes a 90 day free trial, but to continue beyond the free trial with your own data you will need a subscription. To purchase or extend an APDL subscription tap the desired duration at the bottom of the My Account Page. You will only see the subscription options when the subscription is expired as Apple will present a confusing message if you try to renew again while in a current subscription. You can actually renew at any time and your subscription will extend based off of the current expiration. It is better to actually purchase all renewals from http://nc-software.com/apdl instead of from within the app. Subscriptions purchased during the free trial will begin at the end of the free trial. The expiration date will be displayed on the My Account page when your subscription has been successfully activated.
The first time you login to your account you will see the Settings Checklist which is designed to get APDL configured for first time use quickly. Find more details on the Settings Checklist page.
Important
It is very important to configure the settings area prior to using APDL. While the Settings Checklist will get you started quickly, NC Software recommends that you browse all available settings and configure them according to your preferences. To access all settings, open the menu and tap Settings. At a minimum you should configure the following areas prior to using APDL for the first time.
Schedule Importer
Set the airline filter, duty period adjustments, time zone, and aircraft options as appropriate for your airline and view the getting started guide to enable the APDL Toolkit in your Safari browser for quick importing.
Airline
The information entered in the Airline settings area is used for multiple purposes including Payroll, Legality, and Resume.
Crewmembers
While crewmembers can be added one at a time from the Leg View while entering flights, you should create an entry for yourself and designate it as "This is Me" and as the default Captain or First Officer as appropriate. This will automatically insert you into all flights and prevent you from needing to make that entry manually.
Approaches
Select the default approach you would like to have automatically entered into all new flights.
Payroll
Configure the appropriate payroll categories that you will be using in APDL. If your airline has minimum credit amounts per day or minimum pay rigs, configure these for each type of payroll category as applicable. Also set the default payroll category which will be automatically entered in new flights created. Choose Block if you are a lineholder or Short Call Reserve or Long Call Reserve if you are on reserve.
Position
Choose the default position which will be entered automatically on all new flights.
Regulations
APDL uses an automatic algorithm to determine your legality based on the legs you have flown during the duty period. In the event that APDL cannot determine the appropriate regulation, it will revert to your default setting chosen here.
Notifications
Choose the iOS Notifications you would like APDL to display. This will require enabling APDL to have iOS notification privileges if you have not done so already.
Calendar
Enable calendar and configure sync if desired and choose which calendar to use for APDL sync.
Miscellaneous
Now take a look at the Status Board. Open the menu and tap Status Board at the very top. Status Board has three different displays available. APDL automatically selects which one to display based on your current state. You can tap edit and configure the display for each Status Board tab if desired.
After configuring your settings, you're all set up and ready to start logging data. Head over to the Logging Data section for details on the various methods of logging data in APDL.